
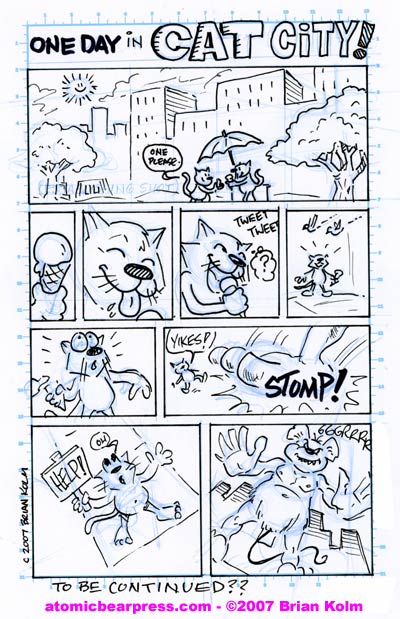
This mini-comic page was created to as an example for my Mini-Comic class at the Schulz Museum this Friday. The page was done in about 1 hr. I hope the kids in my class will find it useful.
If you want to try the single panel/single page template for your own Mini-Comic, download the PDF at the link below.
The PDF file features an actual-size ‘window’ to draw a 5.5″ x 8.5″ page for a Mini-Coimc.
How to use the template:
1. Print out the template on the paper of choice, if you are doing some heavy inking then you might want to work with card stock. NOTE: This template will most likely smear when wet with watercolor or other water friendly paint.
2.Create the artwork. The template is designed to work actual size, i.e. the artwork will fit with out enlarging or reducing it. I like to use a blue pencil first and then go over it with ink or a dark lead pencil.
3. Production. You can then either:
a) Cut out and glue your art to the layout of the pages for the final book. NOTE: It might wise to make a copy first and then use that for the layout(s).
or…
b) Scan the art into a application like Photoshop. To remove the blue lines in Photoshop you can >Scan the art in, in Color >Select the Blue Channel which should make a greyscale image with the blue parts missing >Change the mode to greyscale > Adjust the levels to your liking. Then you can edit in dialog balloons, add color, etc and print it from a digital file.
that is flanked on each side with marks to help you rule to panel boarders for your comic. The blue lines should drop and when you xeorx the artwork or you can remove them as a scanned image in photoshop by scanning it in as a color image and then selecting the BLUE channel and then setting the mode to greyscale.
The file can be used free of charge as long as you can link back here if you found is useful. Please leave comments below.
Here are the two cleaned up pages that I created with the template…(click for a bigger image)

tags: mini+comic|comic+book|comic|drawing|diy|


